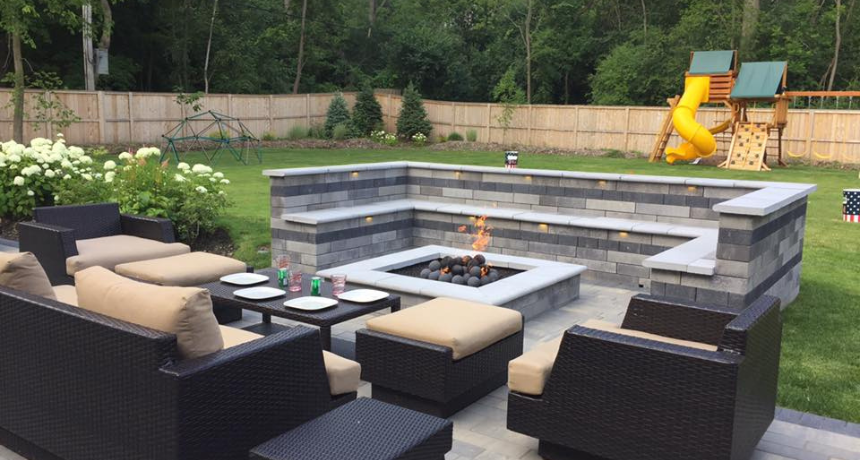
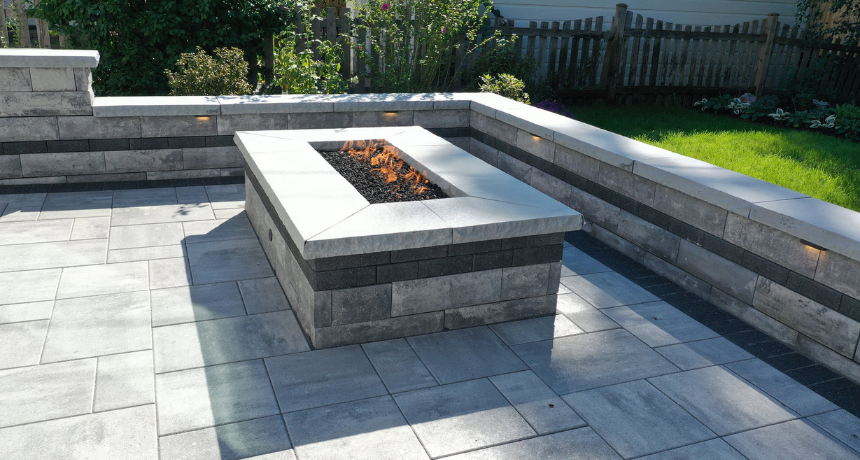
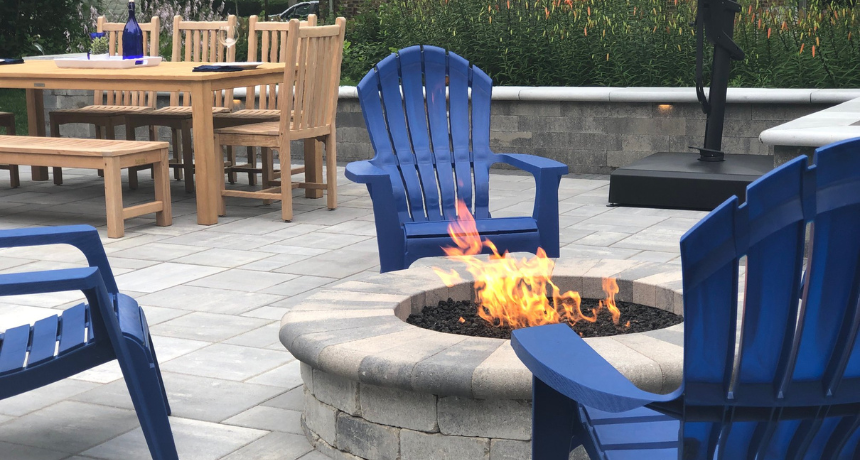
Imagine cool fall evenings spent with friends and family gathered around a crackling fire, sharing stories and sipping wine. A well-designed fire pit can turn this vision into a reality, adding warmth and charm to your outdoor living space. Have you ever wanted to create a cozy oasis in your backyard, complete with a fire pit built from durable and aesthetically pleasing brick pavers? In this blog, we’ll lead you through the steps to construct a brick fire pit, a timeless DIY project that can elevate your patio design.
Before we dive into the construction aspect, let’s first gather the essential materials needed to establish a fire pit that perfectly complements the beauty of the fall season.

Materials and Tools Required For Crafting A Brick Fire Pit
Here’s a concise list of key items that you’ll need:
- Brick pavers (fire-rated for safety)
- Concrete adhesive
- Sand
- Gravel
- Steel fire pit ring or fire pit insert
- Shovel
- Level
- Rubber mallet
- Tape measure
- Tamper
- Safety gear (gloves and safety glasses)
Now that you have all the necessary tools, it’s time to roll up your sleeves and begin crafting your very own brick fire pit. Let’s dive into the creative process and bring your vision to life.
11 Simple Steps to Create the Perfect Brick Fire Pit
Step 1: Choose a Location
Selecting the ideal location for your fire pit is a crucial first step. Consider a spot that’s not only aesthetically pleasing but also safe. Opt for an area away from structures, trees, or overhanging branches. Ensuring adequate clearance will prevent any potential fire hazards and allow everyone to enjoy the fire in a safe environment.
Step 2: Mark the Perimeter
Using a tape measure, mark the desired diameter of your fire pit on the ground. This measurement will determine the outer edge of the fire pit. Consider the size carefully, keeping in mind the seating arrangement around the pit and the distance from the fire to maintain a safe environment.
Step 3: Dig the Hole
Now, it’s time to dig the hole within the marked perimeter. The hole should have a depth of about 6-8 inches. The diameter should be sufficient to accommodate the fire pit ring or insert that you’ve chosen. Take the time to double-check the measurements and make any necessary adjustments before proceeding.
Step 4: Level and Compact the Base
With the hole dug, focus on leveling the bottom to create a stable base for the fire pit. Use a tamper to compact the soil, ensuring that it’s level and firm. This will provide a solid foundation for your fire pit and help prevent any potential shifting or sinking over time.
Step 5: Add Gravel and Level
Next, pour a layer of gravel into the hole. Spread it evenly to achieve a flat and level surface. Use a level to confirm that the gravel is uniformly distributed and flat, ensuring the stability of the base and proper drainage for the fire pit.
Step 6: Place the Fire Pit Ring
Insert the chosen fire pit ring or fire pit insert into the center of the hole. Make sure it’s level and precisely centered to maintain the symmetry and aesthetics of your fire pit. Take your time to position it accurately, as this will be the core structure around which you’ll build the rest of the pit.

Step 7: Arrange the First Layer of Bricks
Begin the construction of the visible fire pit structure by placing the first layer of brick pavers around the fire pit ring. Ensure they fit properly and are level. Use a rubber mallet to gently adjust their position and alignment, making sure they’re tightly packed and create a neat, even base.
Step 8: Add Adhesive and Continue Layering
To ensure the bricks hold firmly together, apply concrete adhesive on top of the first layer of bricks. This adhesive will strengthen the structure. As you place the second layer of bricks on top, stagger the joints to create stability and enhance the aesthetics. Repeat this process until you reach your desired height for the fire pit.
Step 9: Fill with Sand
After constructing the desired height, fill the inside of the fire pit with sand. This step is essential to create a stable and level surface for your fire. The sand also aids in absorbing heat and distributing it evenly during a fire, enhancing safety and performance.
Step 10: Finish and Decorate
With the construction complete, take a moment to ensure that the bricks are level and well-aligned. Clean off any excess adhesive and make any necessary final adjustments. If you wish, add a decorative top layer of bricks or stones to further enhance the appearance of your fire pit.
Step 11: Let it Cure
Allow the adhesive to cure according to the manufacturer’s instructions. It’s essential to be patient during this phase, as proper curing ensures the long-term durability and safety of your fire pit. Once cured, you’re ready to light a fire in your carefully crafted brick fire pit and enjoy cozy gatherings.
By following these steps and taking the time to plan and execute the construction carefully, you can create a stunning brick fire pit that provides warmth, comfort, and a beautiful focal point for your outdoor gatherings.
To speed up this delightful project, consider the high-quality brick pavers and expertise offered by Pavestone. Known for exceptional brick installations, We at Pavestone in Des Plaines, IL, provide a wide array of options to bring your fire pit vision to life. Why wait?

Contact Pavestone today, schedule a consultation, and let their experts guide you through the process of selecting the perfect brick pavers for your unique fire pit design. Embrace the warmth, both from the fire pit and the wonderful memories you’ll create around it. Your dream brick fire pit is just a call away!
Call us at 847-895-7004 to know how we have installed a brick fire pit for other clients in the past and request a customized firepit for your outdoor oasis.


